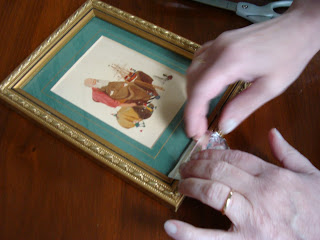
Up until about a year ago these picture frames were "gold(ish) leaf", then one day I (or probably Braxton - I don't remember) had a crazy idea. Let me walk you though the transformation.

You will need the following supplies:
- aluminum foil - not the heavy duty kind
- scissors
- a glue stick
- a pencil with an eraser
Smooth it out.
Cut into pieces approx. 1.5 to 2 inches.
Cover the back (the less shiny side) with glue.
Place the smoother edge against the glass and press the foil forward over the frame.
Smooth over the frame with your fingers.
With the pencil eraser smooth the foil into all the nooks and crannies (that is the technical term) of the frame.
Repeat until you have covered the entire frame.
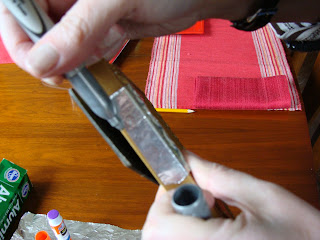
If the foil breaks or doesn't quite cover the frame you can use a silver sharpie to cover your mistakes.
I'm not kidding, I really did "silver leaf" picture frames with foil. Not one person has ever looked at them askance and said "Yancey, you fool, you totally did that with aluminum foil didn't you?". No one.
Have you ever done anything crazy with aluminum foil? Please share - I simply must know.
Have a great weekend everyone.
Peace,
Yancey


No comments:
Post a Comment